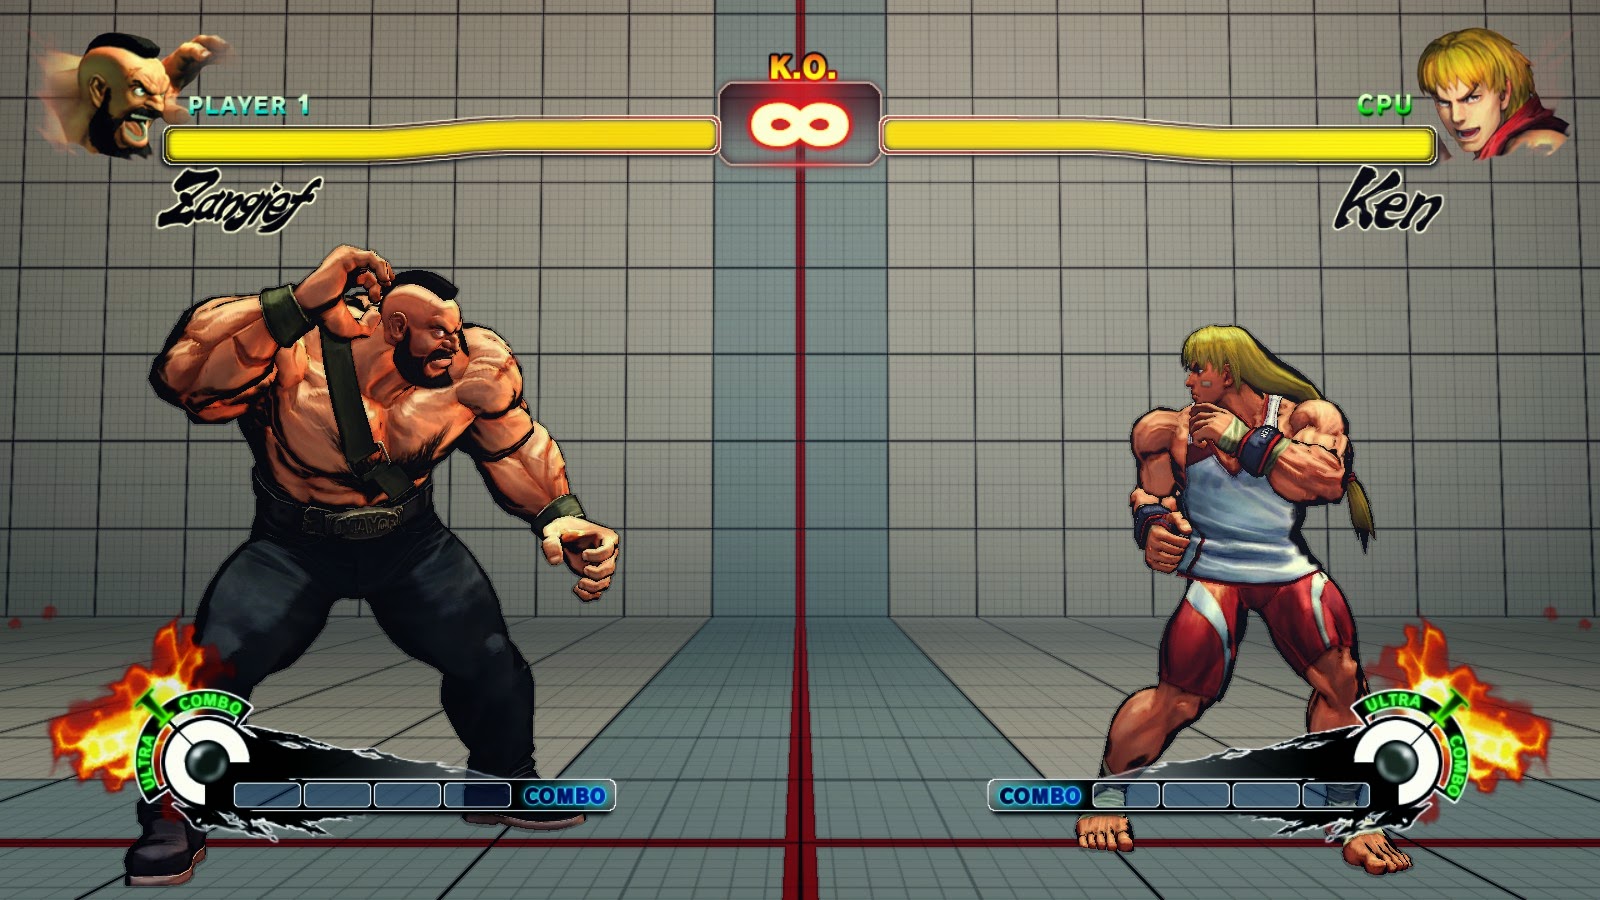
 Today i want to go over the lighting effects in super street fighter 4. I noticed in the options menu that the game had 3 extra effects Ink, watercolour, and posterize. I'll be going over the three because they actually create some cool effects and street fighters art style has been talked about since its release. The first style is Ink, its the first and most used style. A lot of the concept or for street fighter 4 used heavy ink lines an example under this text. the way the effect is done is pretty simple, its the same way we did border detection for toon shading. The screenshots that i showed before of toon shading in my game used the same visual effect. By taking camera information, and normals, and calculating the area seen by the camera or light, the edge values are just the dot product of the light direction and the normals. The parts closes to the edge are around zero. Making a range around zero will highlight these edges. Heres the process reversed to see only the edges and black out everything else
The next effect is watercolour, Disappointingly it the same effect but instead of changing the edges to black it changes them to a maroon like colour, its lighter than the black and it does look fairly different, but it kind of fails to really express a watercolour like visual. I'd like to point out that when a character uses a powerful move the shader goes back to the old ink look on the characters. So the border is used twice as much and the black outline becomes even greater
Finally the posterize effect heres an example of what its suppose to look like, the colours of an image chosen and created into multiple thresholds. thats makes a multicolored image into a little under a dozen.
Now this is the street fighter version, once again the same effect, but with a little difference. Street fighter already uses vary little colour differentiation and already looks like a toon like image, so the posterize effect here changes the normal border effect colour and range, notice all the highlighted areas are under the character now. This can simply be done by changing the range of the of the border select or by basing the border select off the light instead of the camera.
The effects used ended up being much lazier than i expected. They could of gone all the way with there effects, and actually made a posterize and watercolour effects.


No comments:
Post a Comment